As an Amazon Associate, I earn from qualifying purchases.
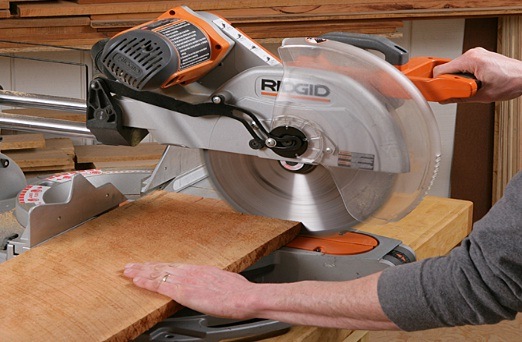
An accurate woodcutting tool and convenient to transport – it’s the standard description from many carpenters when looking for a miter saw.
With the help from this saw, an angled or miter cut will not be a problem anymore. Besides, some model has an extra feature such as bevel cut for both sides or sliding side rails supporting full board.
Seem tough to handle this device?
So how to use a miter saw correctly? Don’t worry, follow our guide, then you can control your device without any hassle.
Miter Saw Types
You should know that not all the miter saws are the same as others. But there are some specific ones with noticeable characteristic.
- Regular miter saw : This ordinary model owns only a table that can control the cross-cut angle.
- Sliding miter saw : This saw comes with a rail system which allows moving the blade from front to back and increasing the cutting length as well.
- Compound Miter Saw : The compound miter saw is designed to have a left/right movement for cutting. Besides, this model comes with two advanced miter saw which is Compound sliding (allowing miter, bevel cut), and Dual compound sliding (give you a left/right bevel cut)
Guide To Using A Miter Saw Properly
Ensure safety in work
When it comes to working with risky equipment like a saw, it’s essential to follow the protection regulations at your workspace. Please remember:
 Wear protection glass and glove in work
- Wear eye protection glass to avoid small pieces of wood that may damage your eyes.
- Don’t wear jewelry that can get stuck in the blade.
- Don’t be distracted when working, place your hand in the right place.
- Wear some protection equipment such as gloves, dust protection, and eye protection.
Understand your miter saw
Before starting, take a look at the instruction manual. Each miter saw has different locking location and some specific characteristics. When knowing clearly about its structure, then you can handle it easier
Calibrate your miter saw
Most saws need at least some small adjustments before you put them to use. These steps below show how to calibrate your saw properly:
- Check the blades if it’s still sharp or getting dull
- Check if the saw table is tight enough
- Square the table up to the fence, making sure the blade will cut at a certain angle (90°).
- Use the bolt to adjust the bevel into alignment.
Adjust the miter angle
Typically, a new miter saw has fixed at a standard angle as 0°, 20° or 45°. If you need another miter angle, simply slide the arrow to your desired angle and lock the hat saw table to keep it from moving during the cutting process.
Set Your Bevel Angle
Sometime, you will need to do a bevel cut. Just like setting the miter angle, you set the miter gauge at 0° then set the proper angles between the detent by using the bevel lock.
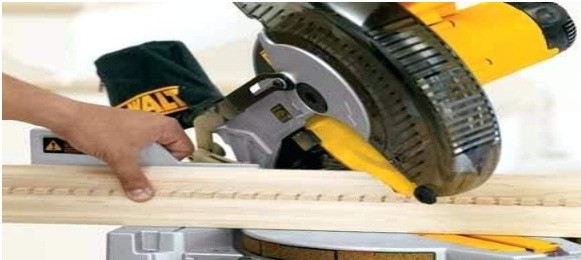 Calibrate the bevel cut
For some cases, your miter saw will have a dual bevel, so be careful as these models will be open at the right sight.
Start cutting work
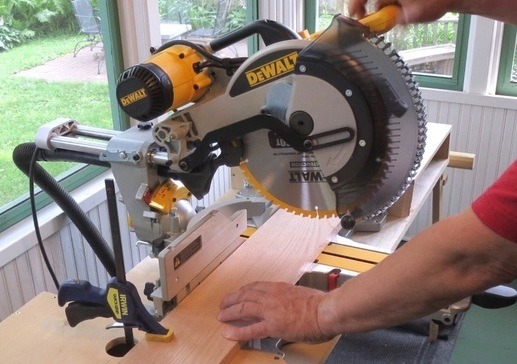
Now it’s time to do the main work. Spinnin up your saw and depress the blade to interact with the wood surface. Then you can turn on the blade and slowly maintain it at high RPM (round per minutes) to completely cut the object.
There is a way to maintain the power in RPM in process for a longer time.
First, you pull the blade toward you, then lightly cut the wooden surface. Finally, you have to push the blade through the object. These steps allow you to keep the saw in highest performance.
When you finish your work, turn off the power and wait for the blade to completely stop running to place it in resting position. If you return the edge when it’s still spinning around, the saw can be broken and damage your hand in the worst case.
Wrapping up
A miter saw it a fantastic tool that can perform the accurate and advanced trim work..
Now you have known how to use a miter saw correctly, but still remember to follow the safety guide.
If you find this article helpful, please share with your friends.
Leave a Reply